
 |||
|||
|||
|||
Design a solar panel that rotates and faces towards the brightest light.
A guide to engineer a rotation system for a solar panel with the aim of optimizing the energy production.
Static solar panels loss about half of the energy generation capacity of the day due to sun’s rotation. In this project we want to test the energy production improvement of adding a self-powered rotation system to the solar panel.
Download attachments:
- Arduino_Solar_code.ino (382 Downloads)
- NanoBase.sch (461 Downloads)
- PowerSource.sch (451 Downloads)
- DirectionSensor.STL (900 Downloads)
- Main Box.zip (708 Downloads)
Additional Info
-
What you will learn:
-
Science: The student learns about solar energy,
-
Engineering: mechanical engineering, programming,
-
Technology: 3D-modelling and -printing, basic electricity and electronics.
-
-
Expected Time:
More than 100h
-
Materials & Recycled Materials:
- - Small solar panel (about 30 x 12 cm)
- - 2 servomotors
- - 4 light sensors
- - PC-board for the sensors(about 5 x 3 cm)
- - 6 m electric wire 1 mm2 (RECYCLED)
- - 5 m wire organizer cover
- - Small fan (3D-printer size) (RECYLED)
- - Arduino
- - Solar charge controller (settable voltage and MCU-control)
- - USB-microUSB cable (RECYCLED)
- - Rechargeable battery (12V 7AH/20HR)
- - PLA-filament (about 500 g)
- - 6 bearing balls (D4mm)
-
Guide:
- Panel base: design a 3D-printing model for a base that will hold the solar panel and the sensor assembly; both to face the same direction. Add a shape on one side of the base to fit the servomotor rotator. Add also a shaft (about 5 mm thick) on the opposite side of the base for rotation. Make sure to optimize the model to ease 3D-printing.
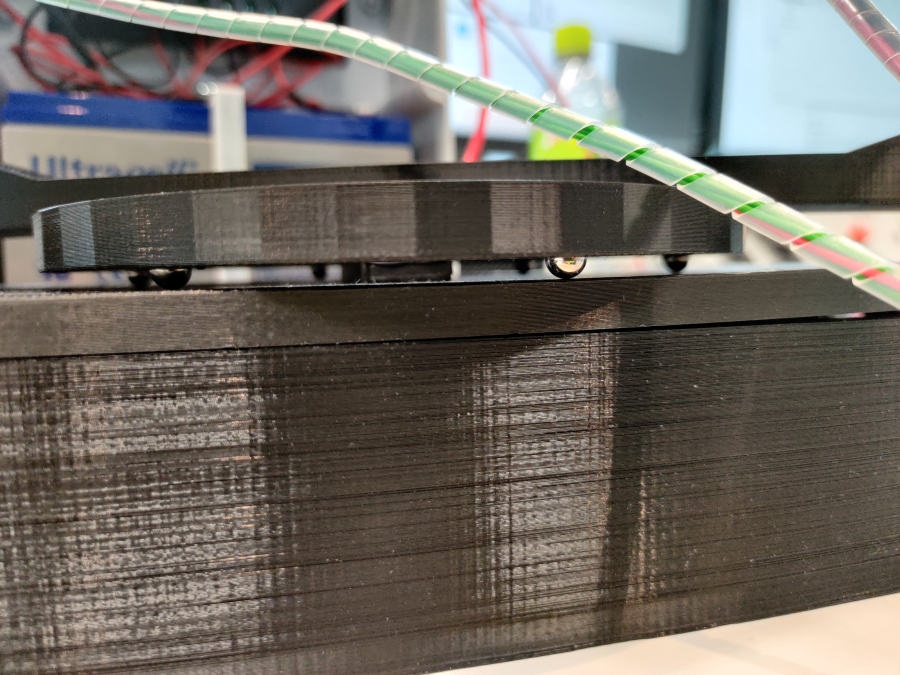
- Rotation body: design a 3D-printing model U-shape (about 30x10 mm thick) to hold the solar panel inside. On one end of the U-shape add a housing shape to fit a servomotor towards the solar panel. On the other end of the U-shape add an open housing shape to sit the shaft shape of the Panel base. Under the U-shape, carve a servomotor rotator housing on the middle and add a circle shape around it (D120mm, d100mm 8mm thick) perpendicular to the U-ends as a printing 1st layer. Finally, carve 6 holes on the bottom face distributed around the circle to fit the bearing balls.
- Rotation Box: design a 3D-printing 200x130mm box model to house the Arduino, about 60mm high. Add holes to the top face in the middle for servomotor cables and in the short walls for all Arduino connection cables.
- Assembly: 3D-print parts set as sturdy as possible. Hot glue the sensor separator to the Panel base. Drill and solder the Arduino assembly according to the downloaded files. Mount the parts to their positions. Use the provided files to set the Arduino. Connect all the cables and you are ready to go!
-
Further Steps:
- Once the assembly works with the first panel, try designing a bigger assembly for multiple solar-panel use
-
Software used in the project:
- - Solidworks
- - Ultimaker Cura
- - Eagle.
- Difficulty level: Very hard
- Developed By: Salpaus
WARNING! If you add a comment you accept the privacy policy!